
A lot of people sweat Deutz diesel shirts simply because the Deutz 912 series diesel is a German cooled engine and everyone knows that German cooled engines such as Porsche and VW are not exactly joys to work with. But the following is all you really need to know about installing the Deutz 912 diesel cylinder liner.
Identify your Deutz
Which Deutz 912 do you have? There are essentially two series of 912 motors, the first and the last. These are different motors. The crossover point from start to finish is October 1997 and is determined by the serial number.
Cylinder head gasket sealing
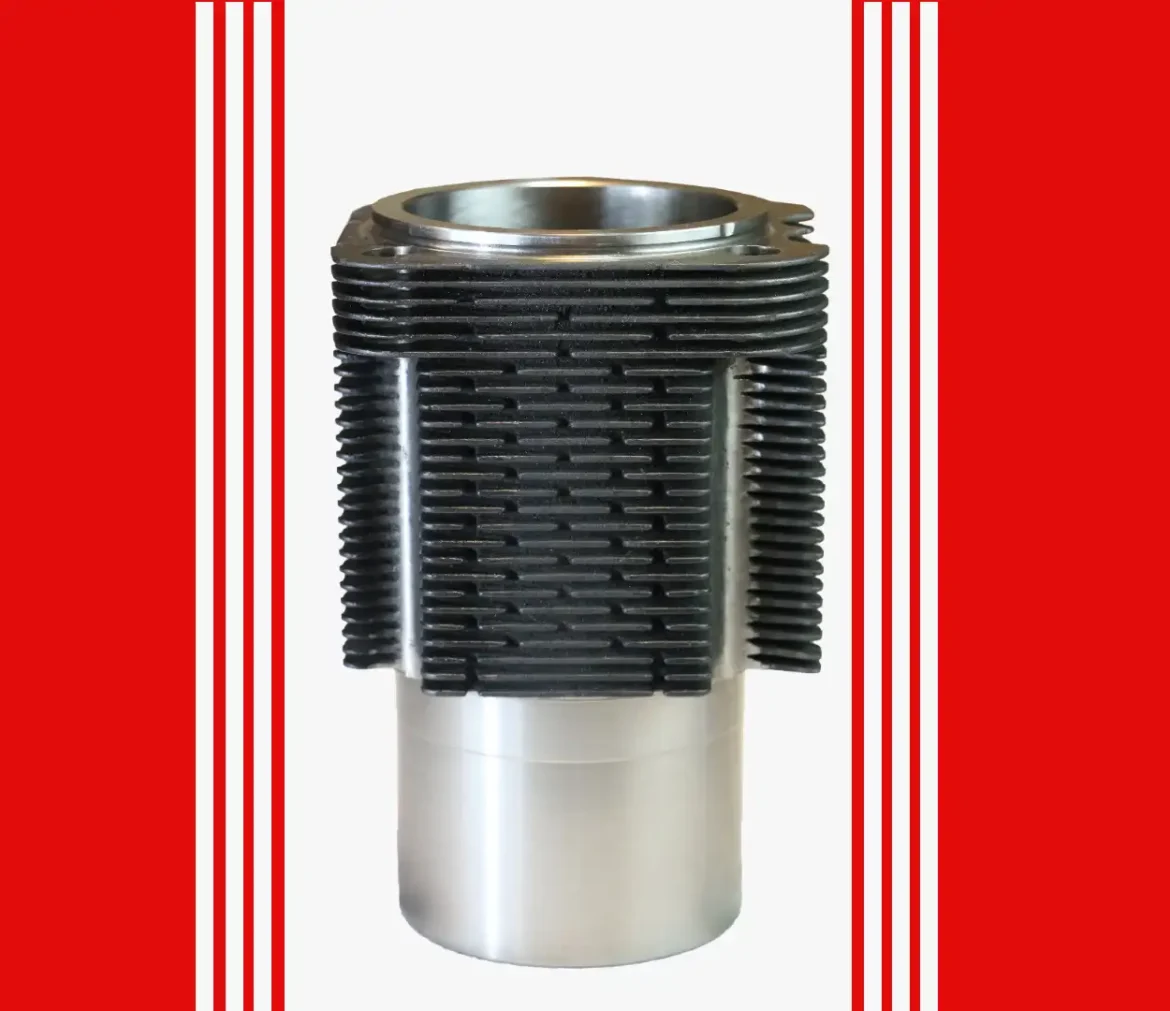
The Deutz diesel engines, like the Perkins diesel engines, rest on the sail of the cylinder liner to help seal the gap between the head and block. They do this by specifying that the liner must come out of the bore a certain amount to trap the head gasket. This is called using the protrusion of the liner to crush the head gasket.
Deutz coating specifications
Deutz does not allow you to obtain their specifications easily. But here are the specifications of the projection of the Deutz diesel shirt that produces the good “crash”. Early 912s have liners that need to be installed to drop 37.3mm above the fire deck, while later Deutz 912 liners need to drop approximately 36.8mm above the deck.
How do you set the height of the liner?
Now that we know how high the liner should be, how do we adjust it? Deutz suggests using base gaskets or shims. With a height difference of 0.5mm, the new Deutz diesel liners generally take thicker shims. These gaskets or base shims come from Deutz in three sizes (2 mm, 3 mm and 8 mm).
How to verify good height?
Here is how we check the correct height of the liner. When mounting the motor, install two 0.2mm shims and one 0.5mm shim under the cylinder mount.
Tighten the cylinder jugs to its appropriate torque specification with the three shims between the liner and the block. Then place a ball of solder in the center of the piston. The next step is to tighten the head to its appropriate torque specification. After that rotate the engine a full 360 degree turn.
This will cause the welding ball to crush in the chamber and will give you a precise measure on the game in the combustion chamber (you will have to remove the head and remove the welding from the motor). You will want the weld to measure 1mm to 1.2mm after the motor has rotated 360 degrees.
If this procedure doesn’t help you get the right size, you just need to loosen the cylinder liner and slide it sufficiently to “cut” one of the 0.2 mm cals, then throw it away.
Once you’ve “cut” the 0.2mm shim, the next step is to reinstall everything and start with a new solder ball.